Earlier this summer we were sewing up a storm getting ready for the Quilt! Knit! Stitch! show down in Portland, Oregon. In addition to all our fun Let’s Play Dolls panels and accessories, we took some of our other best selling patterns- one of which was our Hang it Up! Organizer pattern.
Since its release over a year ago, our Hang it Up! pattern has been our top seller due to its versatility and ability to be adapted for any number of uses. It started out as a great way for little girls to contain all of those 18″ doll clothes and accessories. Well, you can’t forget the little boys, so we made a version perfect for holding toy cars or even for organizing small building block or other bits and pieces they collect.
We have also come up with all different ideas for the adults as well… I personally love using my Hang it Up! to help keep all of my electronic accessories (chargers, cords, cases, cards, etc) all in one place. Best of all I can just tuck it away in the closet until the next time I need something. No more digging through drawers and pulling out a tangled mess! It is also perfect for organizing jewelry- the clear pockets make it so easy for you to find just what you are looking for.
One of our customers emailed us last year with her own variation- She made up the Doll Closet Version (with the clothes bar at the bottom) added few shower curtain rings to the rod and created the perfect place to keep all her scarves and matching jewelry. She made a few of them as gifts for her family and friends- such a great idea! The possibilities are endless and you are sure to come up with your own unique version and use.
In making quite a few of these organizers over the past year we have come up with a few tricks that will really save you some time, especially if you are making more than one.
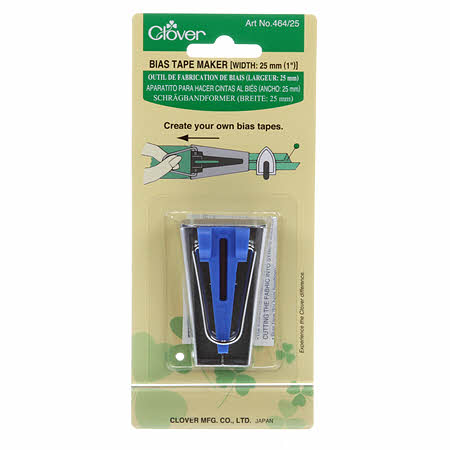
The first trick is to use a Bias Tape Maker. I have gone years without one of these and totally regret it! This handy little tool will save you so much time- you can whip up yards and yards of double folded bias in no time.
I was always one of those people that pressed the fabric strip in half and then went back and pressed the edges to the center burning my fingers in the process. Just feed that fabric strip through the bias maker and it does almost all of that folding for you. Best of all NO fingers close to the iron!
One slight change in the instructions for the Hang it Up!– rather than cutting 2-1/2″ strips you only need to cut 2″ or 2-1/4″ strips so that they feed through the bias maker easily.
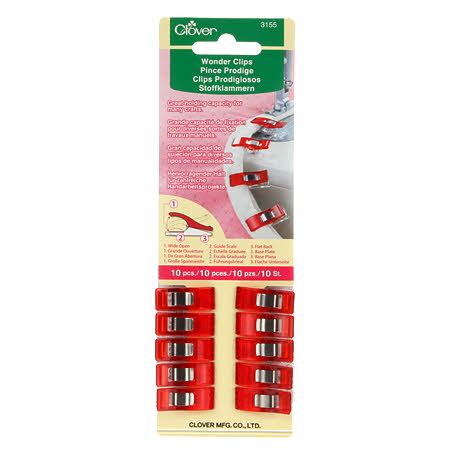
The next trick is to always have Wonder Clips on hand. Really this is more of a rule for all sewing projects… I LOVE my Wonder Clips.
These handy clips were originally developed for attaching binding to your quilts but have become a sewing room staple. They are the perfect pin alternative- for when a pin just can’t handle a tough job or you don’t want to put all those holes in you project (like on vinyl or leather). They are the perfect tool when preparing your rows for the organizer.
Last but not least, Painters tape can be a miracle worker! I have used blue painters tape for years when I am sewing to mark unusual seam allowances on my machine base or to label quilt blocks or rows, but this handy tape can be super helpful when sewing with vinyl or laminated fabrics.
First, if you don’t have a Teflon foot for your machine, stick a bit of tape to the underside of your foot to prevent the vinyl from sticking or catching. Then, you can also apply it to any area (metal especially) on you machine where the vinyl likes to catch.This will save you a lot of aggravation. Some recommend sewing with the vinyl between layers of paper or tissue but I find this tedious and I really don’t like having to pick out all the paper bits when I am done sewing.
Those are all of the tricks that I have for now. I hope they make sewing your Hang it Up! Organizers a bit easier, or that you can apply these tips to the rest of your sewing. It is amazing where little tricks you pick up came in handy.
Happy Sewing!
Michelle
P.S With a all of the new fabric that is available and a brand new booth and show, we decided to change up some of our models and try some new combinations. We also kitted up some of these great fabrics and combinations to take to the show for easy shopping. A few of these kits are NOW available on our website while they last!


